In this document, we’ll explain how to translate custom fields using MultilingualPress. For the sake of simplicity, we are going to use the Advanced Custom Fields Plugin to create the custom fields. Just keep in mind that the process described here is the same for any other Plugin that allows you to create custom fields or if you are creating them manually using WordPress Custom Fields API.
Note: MultilingualPress offers since version 3.5.0 full compatibility for Advanced Custom Fields. Therefore, Advanced Custom Fields can also be translated for connected pages within the WordPress editor. Here is a special Tutorial for translating Advanced Custom Fields explaining all functions.
There are currently two approaches about how to implement custom field translations.
Table of Contents
Creating a new site based on an existing one
The first one is setting up the main site, create the custom fields and the content. Once everything is created we can create a new site based on the existing one. Doing so will copy everything to the new site and we are only going to need to translate the content. Everything else including the custom fields will be automatically created in the new site.
Here is a quick video showing the process of creating a new site based on an existing one with existing custom fields:
Creating the custom fields manually in each site
The second approach is when you already have two or more sites connected and you want to include custom fields. In that case, the custom fields need to be created manually on each site.
In this article, we are going to explain the second approach. To do so we´ll create a new WordPress Multisite installation with two sites connected:

Install and Network activate Advanced Custom Fields
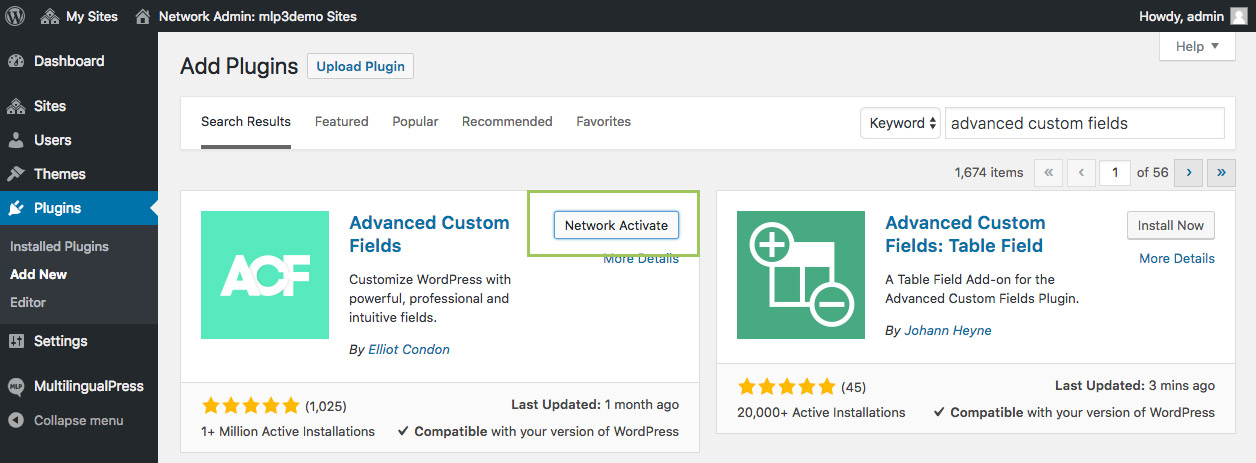
Go to My Sites -> Network Admin -> Plugins and install Advanced Custom Fields. In this case, we are network activating it, that decision will depend on the nature of each Plugin if it includes support for Multisite or not. If you are in doubt, the recommended way is to activate individually on each site, like you usually do in a single site.
Create a custom field in the main site
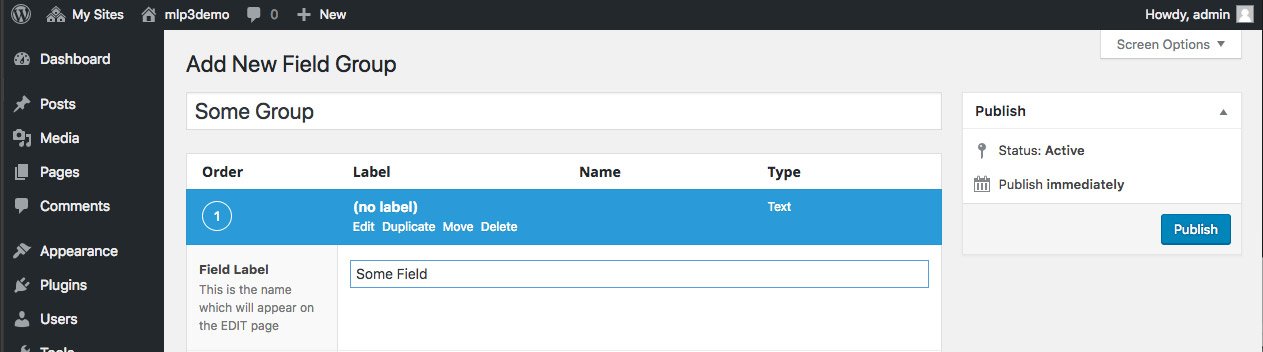
In site 1 create a new group and a new field using Advanced Custom Fields UI.
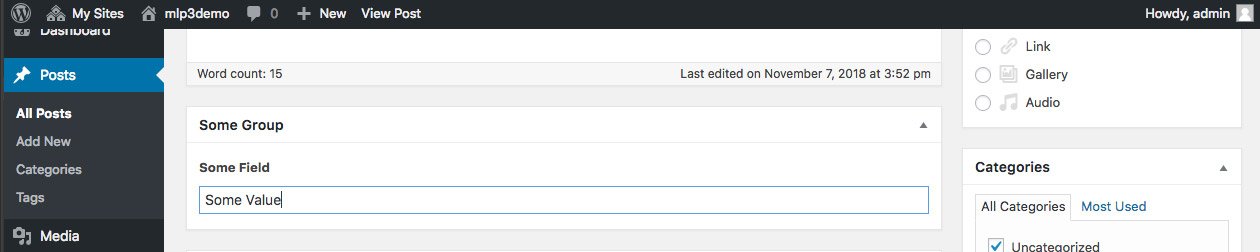
In site 1 fill the value of the custom field in a post.
Create the custom field in site 2
In order to create the custom fields in site 2, we can use the export/import functionality provided by Advanced Custom Fields on the Tools page. But because in our example we are only dealing with one single group with one single field, we are going to create it manually in site 2.
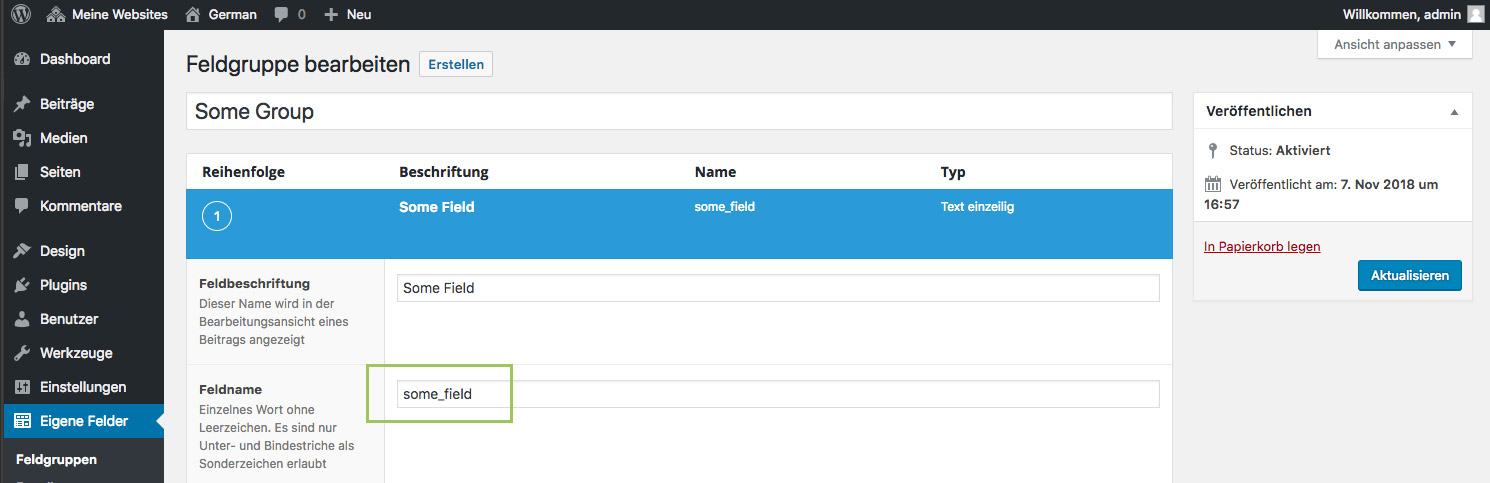
The most important thing to keep in mind here is to ensure that the field slugs are exactly the same across all connected sites. That way the code displaying the fields will grab the correct translation based on the site the visitor is currently in. So let’s say that you create a new field with the slug ‘some_field’ on site 1, you need to create a field with the same exact slug ‘some_field’ in site 2.
Connect the posts that contain the custom fields
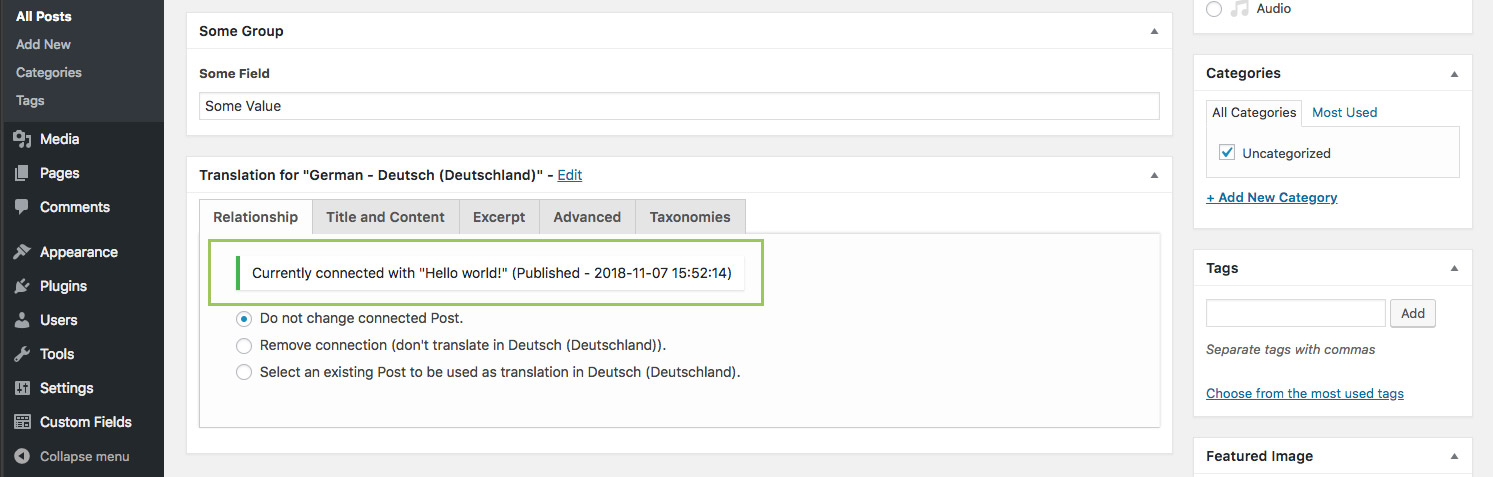
Finally, in order to be able to connect custom fields across sites, you simply need to connect the posts containing the fields using MultilingualPress translation metabox.