WordPress users are familiar with the default post types (content categories) such as pages, posts, and media.
These default WordPress post types make it easier for users to manage and sort out website content on the CMS.
However, what if your website consists of more than the standard pages and posts? That’s where the WordPress custom post types come in handy!
The WordPress custom post types are powerful features that let users post content of any kind on the site — giving them more flexibility when creating a website.
What are the WordPress custom post types exactly, and how do they differ from the standard posts and pages on the platform? How do you create one?
This article will explain how WordPress custom post types work, their differences from the default types, and how to create one for your website.
As a bonus, we’ll also cover how to translate these WordPress custom post types if you’re interested in creating a multilingual website.
Let’s get started!
What Are WordPress Custom Post Types?
By default, WordPress comes with seven standard post types:
- Posts
- Pages
- Attachments
- Revisions
- Navigation Menus
- Custom CSS
- Changesets
The standard post types are used to categorize different kinds of content on WordPress. However, thanks to the platform’s flexibility, content is not limited to only these options.
As WordPress users, we have the privilege to further develop the default post type into a custom one that can cater to the website’s needs and purposes.
For example, if you’re creating a WordPress online shop with WooCommerce, you might want to create a custom post type for your products.
In addition, you can use custom post types for other content types, including:
- Customer testimonials
- Book, movie, or music reviews
- Recipes
- Glossary
- Portfolio
- Maps
- Events
- & so on.
Why Do You Need a WordPress Custom Post Type?
There are several benefits of creating and having a custom post type, including the following:
Sort out and categorize website content
The first major benefit of a custom post type is that it allows users to sort content on the site according to its type and purpose.
This is very beneficial, especially if your website has a fairly complex content structure and consists of many different media.
It’s possible to use the search bar in the post list to search for certain types of content. However, it might not be effective for a bigger website.
With a custom post type, it’s easy to group and find content by its type and category.
Display custom fields for a specific content type
Custom post types are also useful for displaying custom fields to display additional information for certain content types on the website.
A common use of custom fields on a site can be found on eCommerce shop product pages since they are usually filled with information such as:
- Price
- Ratings
- Product description
- Picture of the product
This information is not meant to be posted on a separate post as they are relevant to the product on that page.
Users can create and add custom fields to a certain type of posting with custom post types, making it easier to manage the site and its content.
Creating WordPress Custom Post Type
A custom post type creation on WordPress can be done in two different ways: through a plugin or manually, which requires coding knowledge.
Here’s a detailed tutorial on how to do both methods:
Creating a Custom Post Type with a Plugin
One of the best plugins to create WordPress custom post types is the Custom Post Type UI. It’s free, has over a million active installations, and is compatible with the newest WP versions.
What’s more, it also comes with a beginner-friendly interface to easily register and manage custom post types and taxonomies on your WordPress website.
To use it, simply install and activate the plugin from the official WordPress directory. Once activated, find the CPT UI menu on the left of the Dashboard.
Click on the menu > Add/Edit Post Types to create your first custom post type. Fill in all the required columns. Here’s the explanation of each column’s function:
Basic Settings
In this section, there are three columns to fill in:
- Post type slug — the URL of the custom post type created. Only letters, numbers, and underscores are allowed in this field.
- Plural label — the plural name of a custom post type menu that appears in the WordPress sidebar, such as Posts and Pages. Add the -s or -es prefix accordingly.
- Singular label — the singular form of your custom post type menu name. The name will be displayed in the sidebar to add new content for that certain post type.
Once all these columns are filled in, scroll down to find the Auto-populate labels menu. Users don’t need to fill in fields for other sections when enabled.
The columns will be filled automatically based on the created custom post type. When everything checks out, click Add Post Type, and you’re done!
A new custom-type menu will then appear in the sidebar of the WordPress dashboard.
Additional Labels
In this section, you can specify the name of the sub-menu in the main custom post type menu. For example, you can change the Add New Item menu to Add New Product.
Settings
As the name implies, this section is where users can configure the settings of the newly created custom post type.
Users can specify whether the post type will have sub-pages or not, hide or show them on the navigation menu, and so on.
When all the setups are finished, click on the Add Post Type button, and you’ve successfully created and configured your first custom post type using the plugin.
Creating WordPress Custom Post Types Manually
Manual creation of a custom post type requires a lot of technical knowledge. If you’re not familiar with coding, we don’t recommend this method.
There are two ways to do this: editing the functions.php file of the site’s current theme or creating a custom post type plugin.
Here are some great video tutorials on how to build a custom plugin for the custom post type creation from the OSTraining youtube channel:
- How to Create Custom Post Types in WordPress
- Using GenerateWP to Create Custom Post Types in WordPress
Translating Custom Post Types & Taxonomies
When translating multilingual websites using a translating plugin, the newly created custom post types are usually not translated automatically.
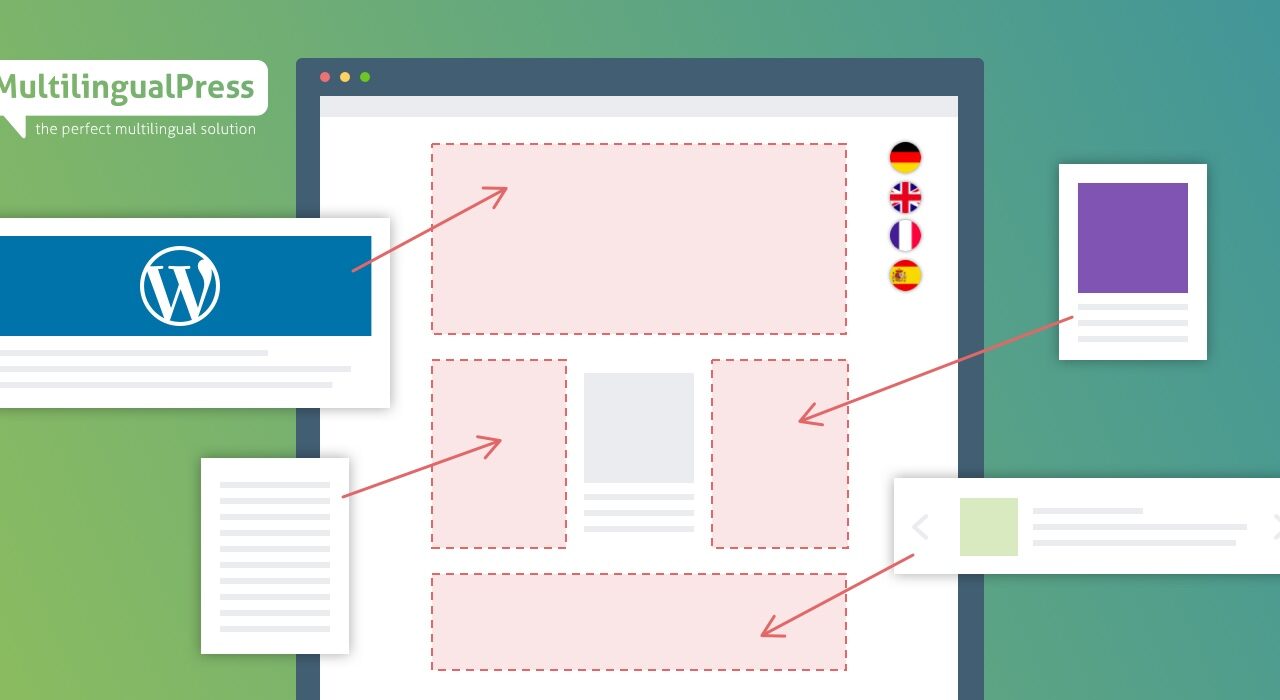
Luckily, with the MultilingualPress plugin, users can configure the settings to translate each post type and taxonomy on their multilingual website.
To do so, go to Network Admin > MultilingualPress > Translatable Taxonomies. Put a check on the post types to translate and Save Changes.
For further instructions on translating these custom posts with MultilingualPress, refer to our official documentation on How to Translate Custom Post Types and Taxonomies.
Wrapping Up!
This article talked about what WordPress custom post types are and how to create them on the website using a plugin.
Apart from being flexible, custom post types also have several other important features for websites built on WordPress, such as:
- To sort out and manage website content based on certain characteristics
- To display custom fields for a specific content type which helps the organization
We hope this article has been helpful! If you want to learn more about WordPress and multilingualism, please visit our MultilingualPress blog.