In this document we explain you how to translate custom post types and taxonomies in MultilingualPress. To demonstrate it, we’ll create a WordPress Multisite installation with two connected sites.
We are going to use the Custom Post Type UI plugin to create a custom post type and a taxonomy. Just keep in mind that the process is the same for any other plugin that creates custom post types or if you register them manually using register_post_type and register_taxonomy.
Table of Contents
Setup a WordPress Multisite with 2 connected sites
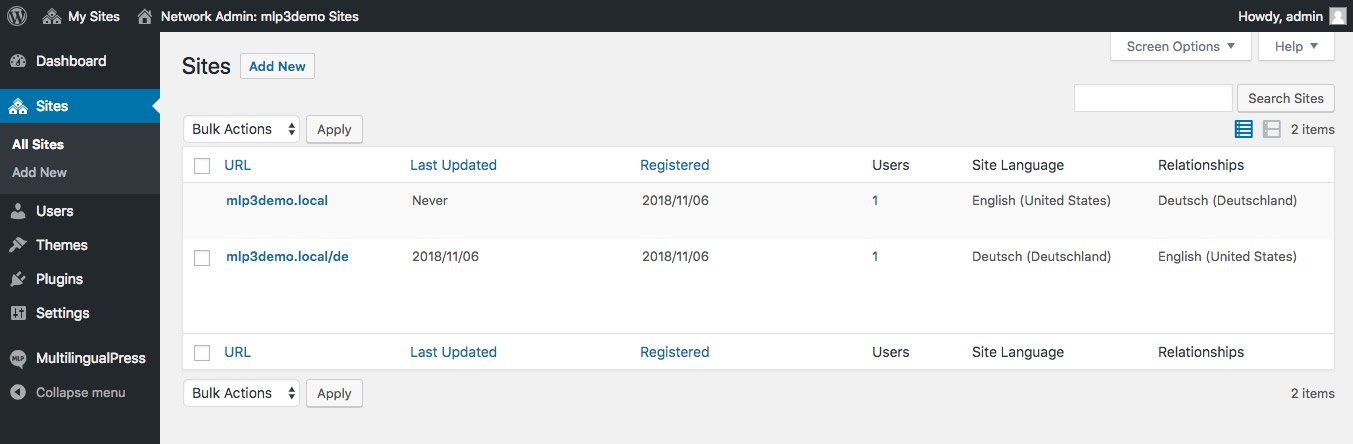
To setup a WordPress Multisite you can follow our tutorial How to install and set up a WordPress Multisite. Our guide Getting started with MultilingualPress 3 explains how to create the sites and connect them with MultilingualPress. We created 2 sites, one for English and one for German and connected them as you can see in the screenshot below.
Install and setup Custom Post Type UI plugin
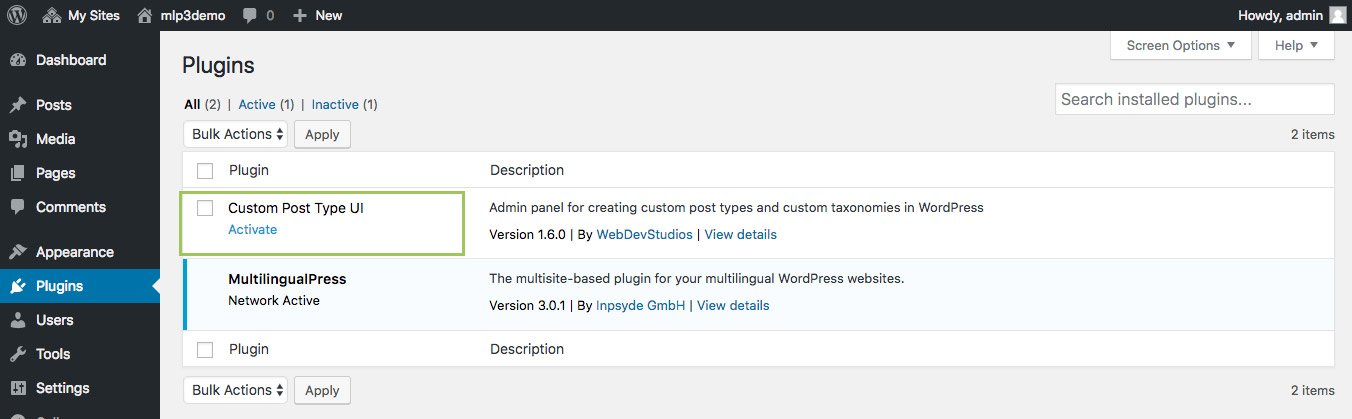
In the next step we install and activate the Custom Post Type UI plugin. Regarding plugin activation we need to decide if it should be network activated or activated in each site individually. The decision will depend on the plugins ability to support Multisite or not. In this case Custom Post Type UI does not have Multisite support (at least in the free version) so we activate it on each site. To do so, go to the Dashboard of each site and activate the plugin on the Plugins page.
Please note: The plugin you use to create the custom post type has to be network activated in the Multisite environment or, at least, has to be activated also in the main network site in order to make the custom type available across all the network.
Create a new custom post type and a taxonomy
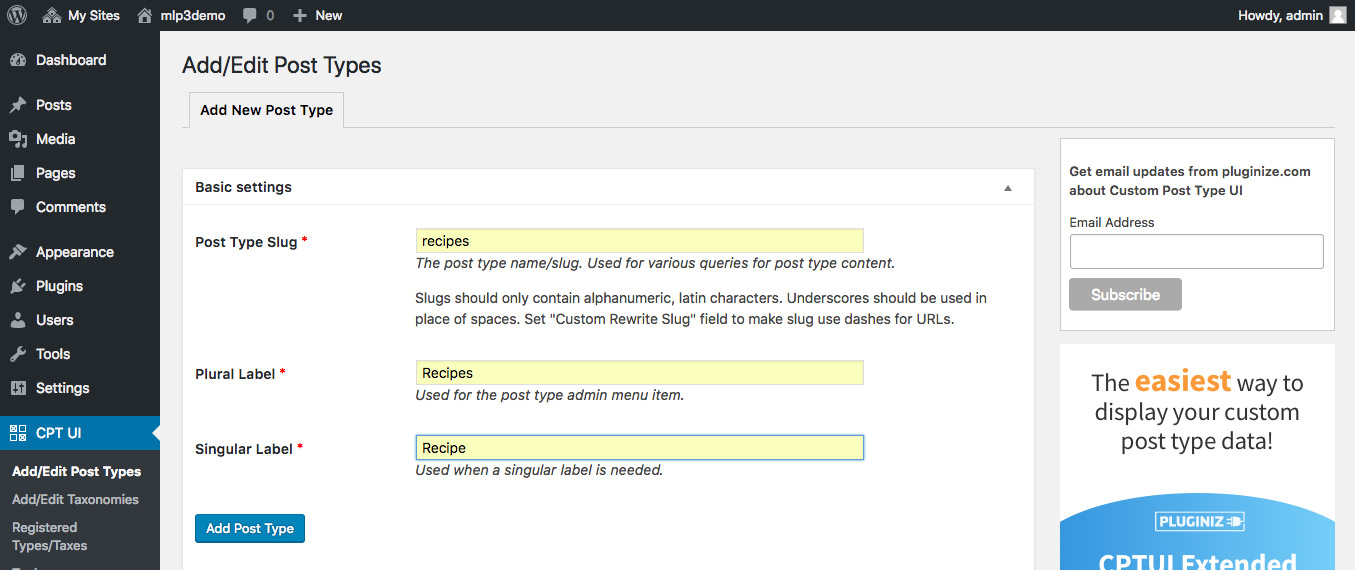
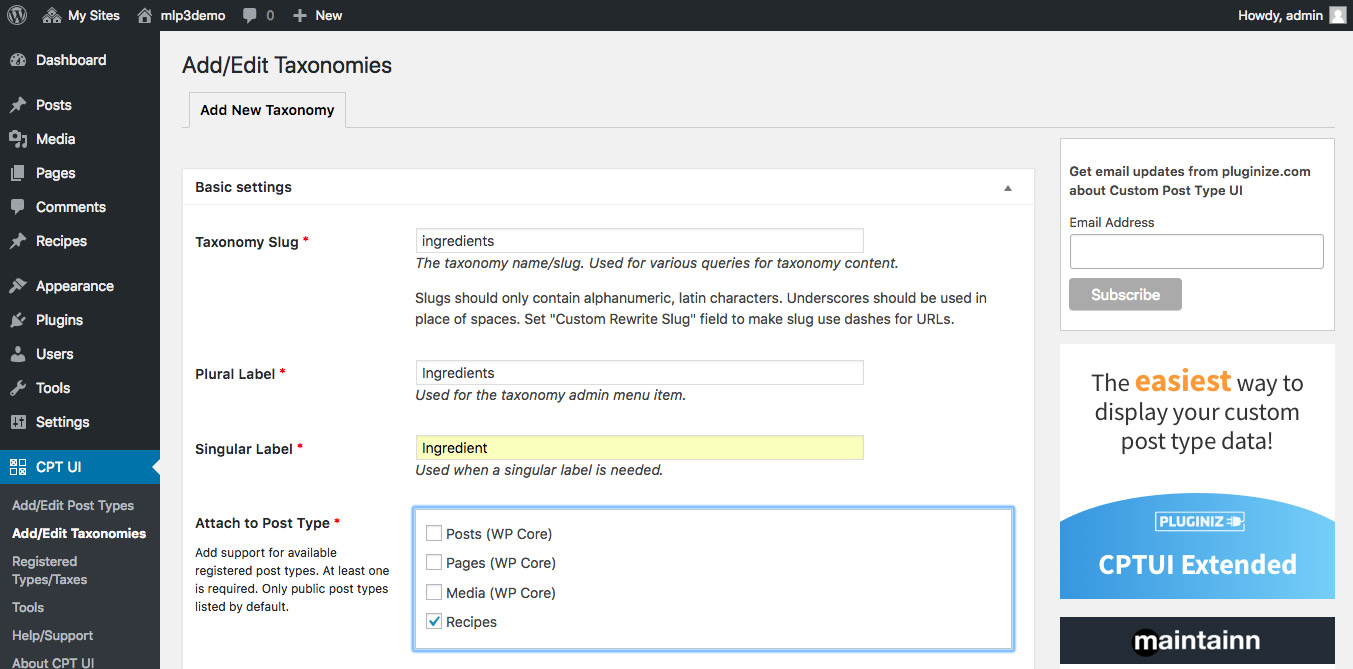
We first create the custom post type and taxonomy on site 1 and afterwards we will copy them to site 2. We will call our custom post type Recipes and the taxonomy Ingredients.
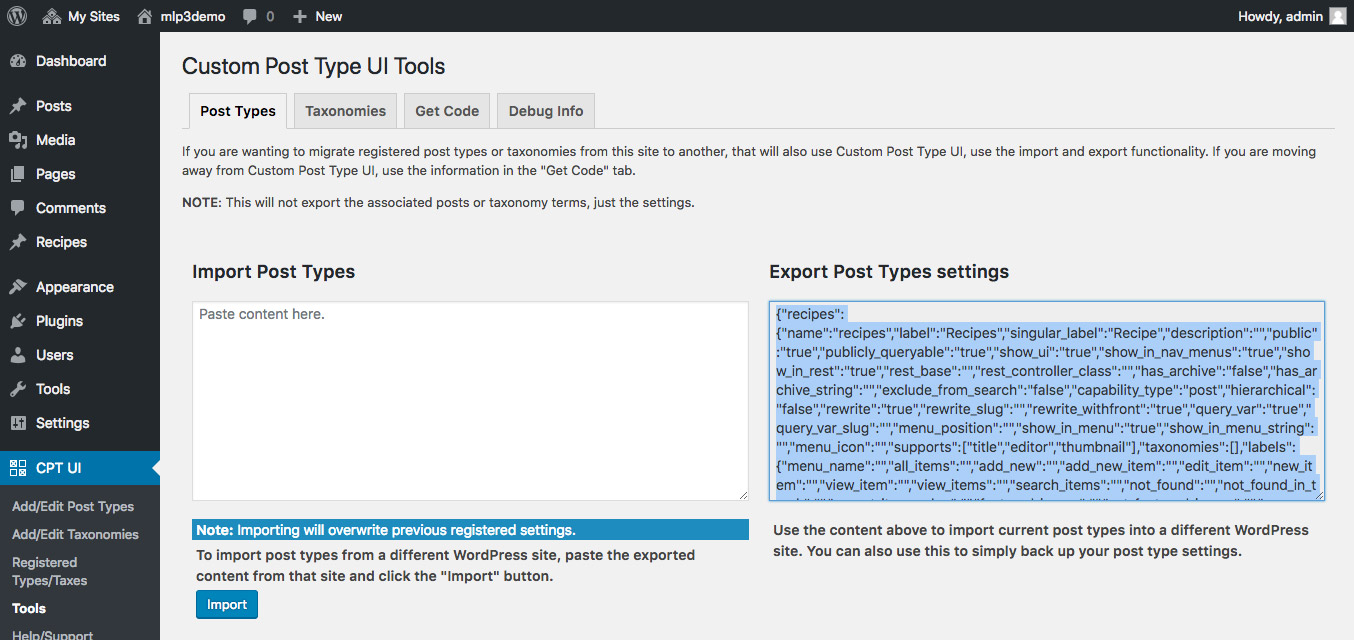
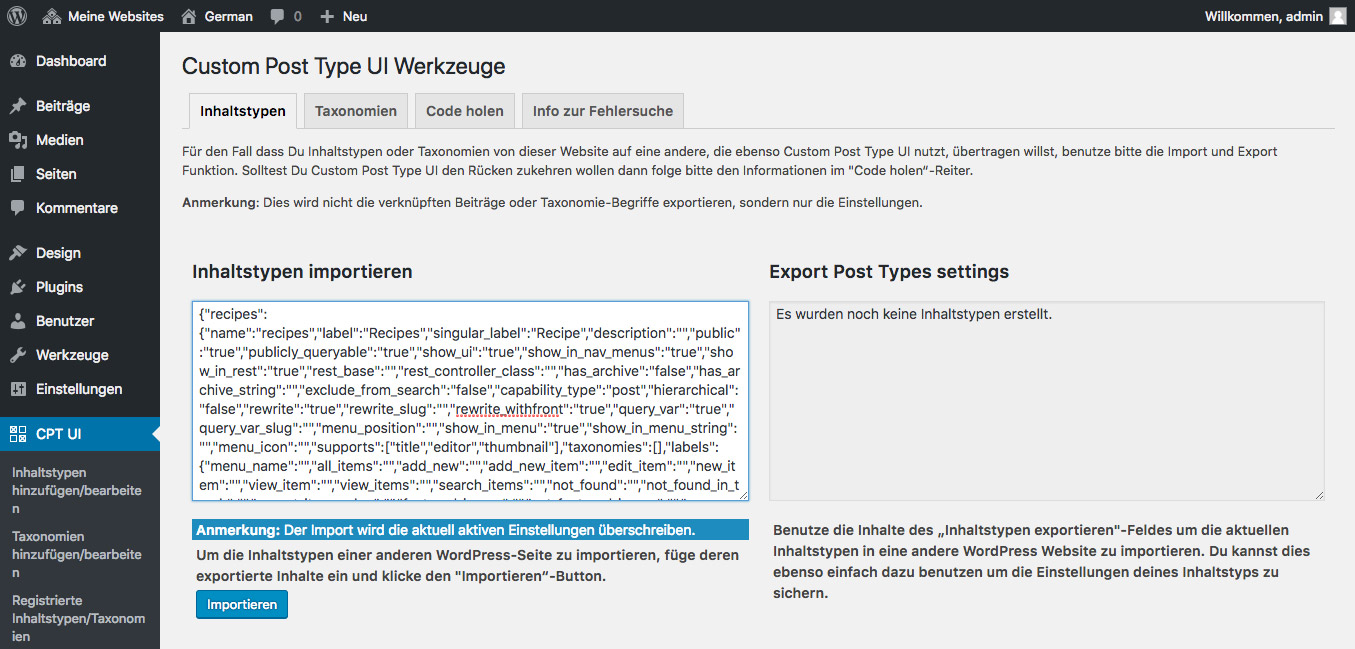
To copy the custom post type and taxonomy we use the Export/Import functionality in the Tools page of Custom Post Type UI.
In the next step we do the same export/import for taxonomies via Taxonomies tab.
Enable Custom Post Types and Taxonomies in MultilingualPress Settings
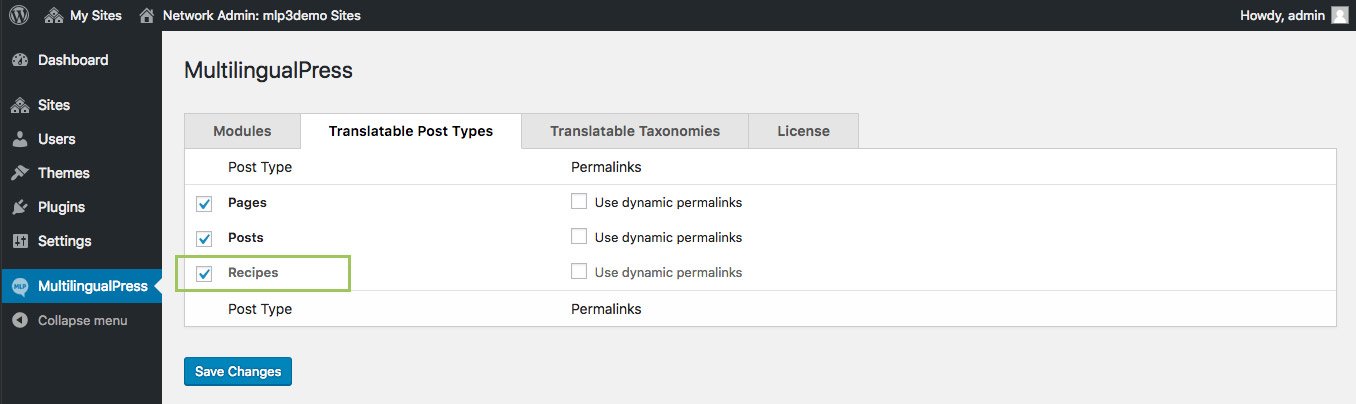
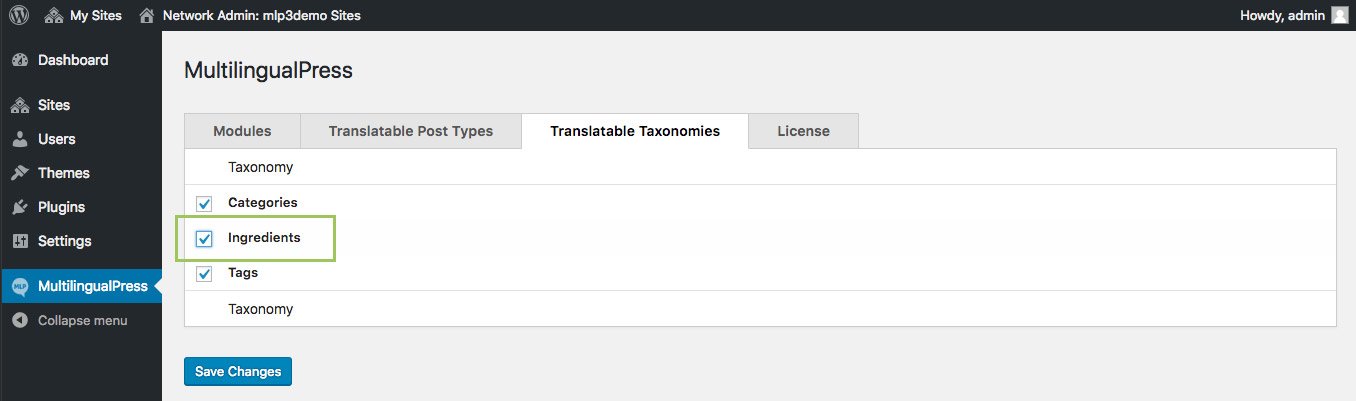
Now that we have custom post type and taxonomy created in both sites, we can configure MultilingualPress in order to be able to translate them. To do so go to My Sites → Network Admin → Settings → MultilingualPress and enable the custom post type and the taxonomy in the corresponding tabs, in our case Recipes and Ingredients.
Translate Post Type slug on each site
Custom post type slugs can be translated during registration time via the rewrite parameter from register_post_type (e.g., ‘rewrite’ => [‘slug’ => esc_html__(‘my-cpt’, ‘text-domain-here’)]). When using the CPT UI plugin, the parameter is called Custom Rewrite Slug. If you have translated the slugs per site via the rewrite slug, MultilingualPress will automatically detect and use your rewrite slug on the site (e.g., for language switcher or hreflang URLs).
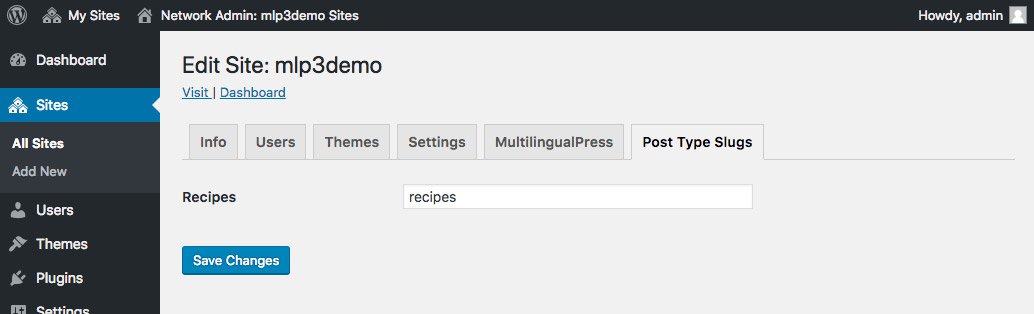
If you did not translate the custom post type slug during registration with a rewrite slug, you can translate it from the Post Type Slugs menu. To do so, navigate to My Sites → Network Admin → Sites and edit each site. In the Post Type Slugs tab, MultilingualPress will automatically display the currently used slug for each custom post type registered on this site. To translate the slug, fill in the translated slug on each site.
Important: After changing the Post Type Slug, the permalink settings must be manually saved on the site for the new slugs to be applied.
If your custom post type is greyed out, you may need to enable it in the MultilingualPress settings as a Translatable Post Type.
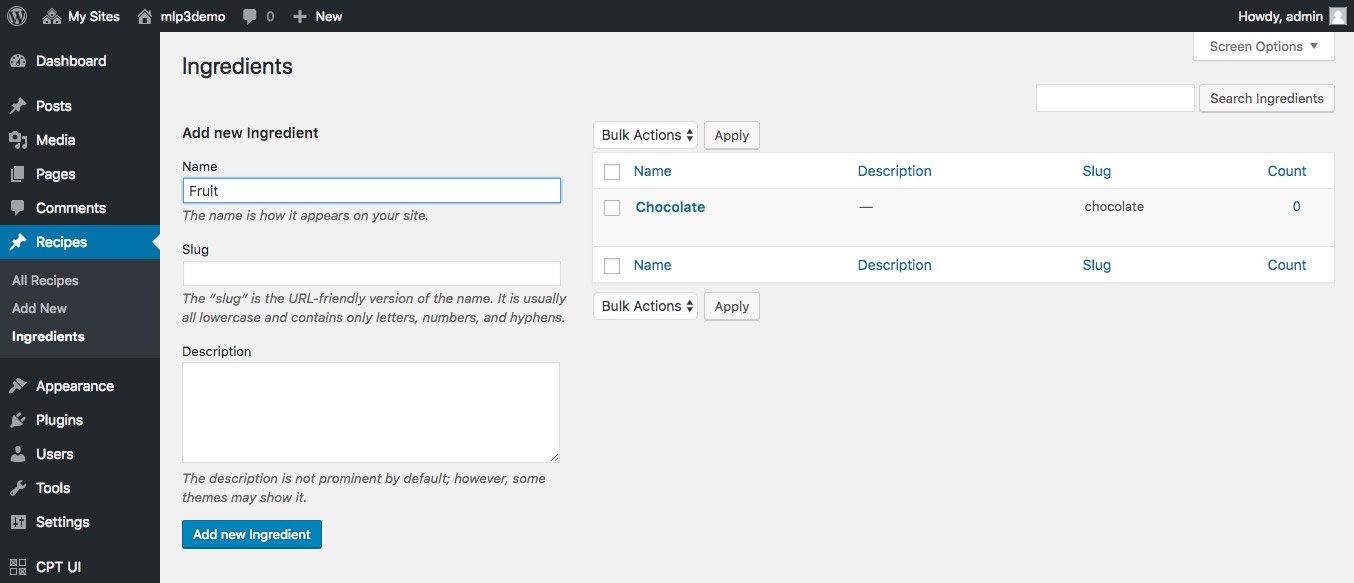
Create some custom posts and taxonomy terms
We can start creating ingredients (taxonomy terms) and recipes (custom posts) in site 1 and then we use the MultilingualPress translation metabox to create the translations for site 2 from there. It is also possible to connect existing content in site 2 from the same translation metabox.
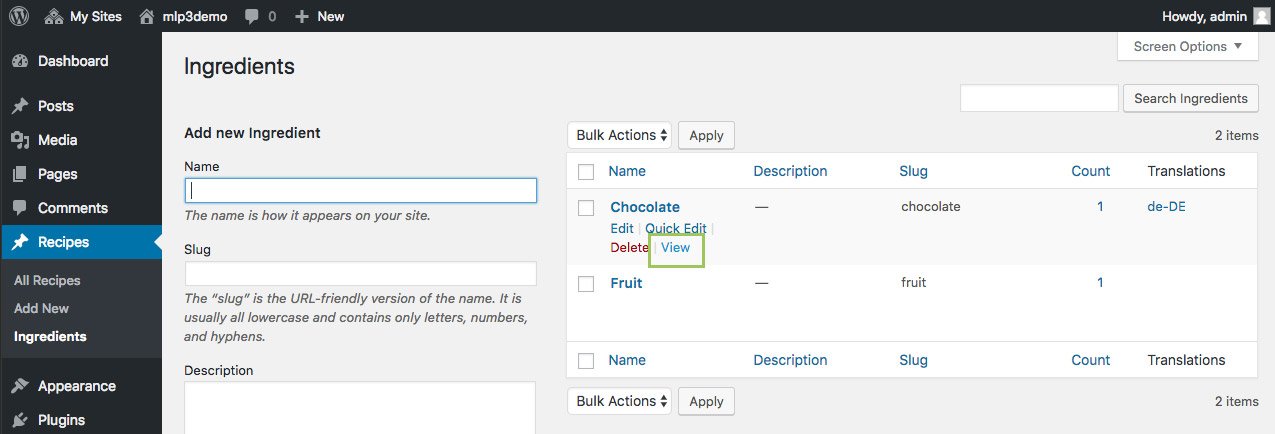
Connect Taxonomy Terms with MultilingualPress
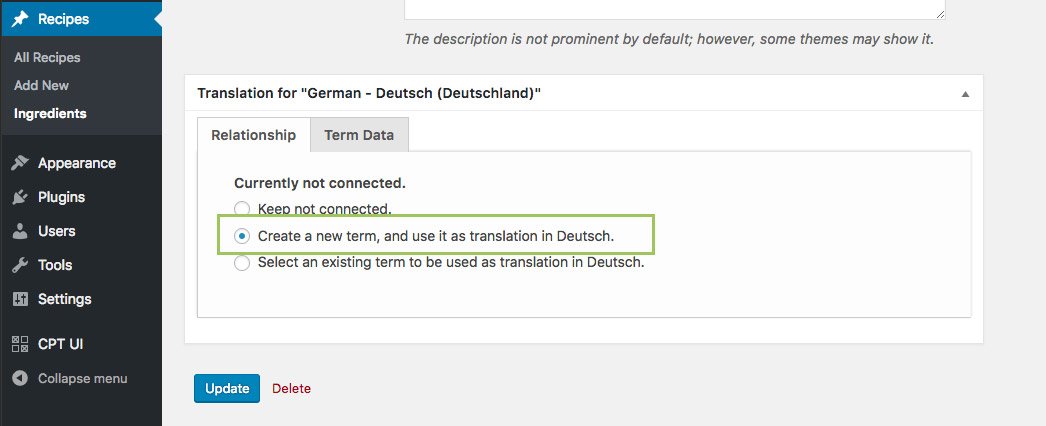
After creating the taxonomy terms on the different language sites we need to connect them. Go to the dashboard of site 1, select Recipes → Ingredients and edit one term. In the translation metabox you can choose Create a new term or Select an existing term. In this case we choose Create a new term. We can fill the fields in Term Data tab manually otherwise the values will be generated automatically for you.
Connect Custom Post Types with MultilingualPress
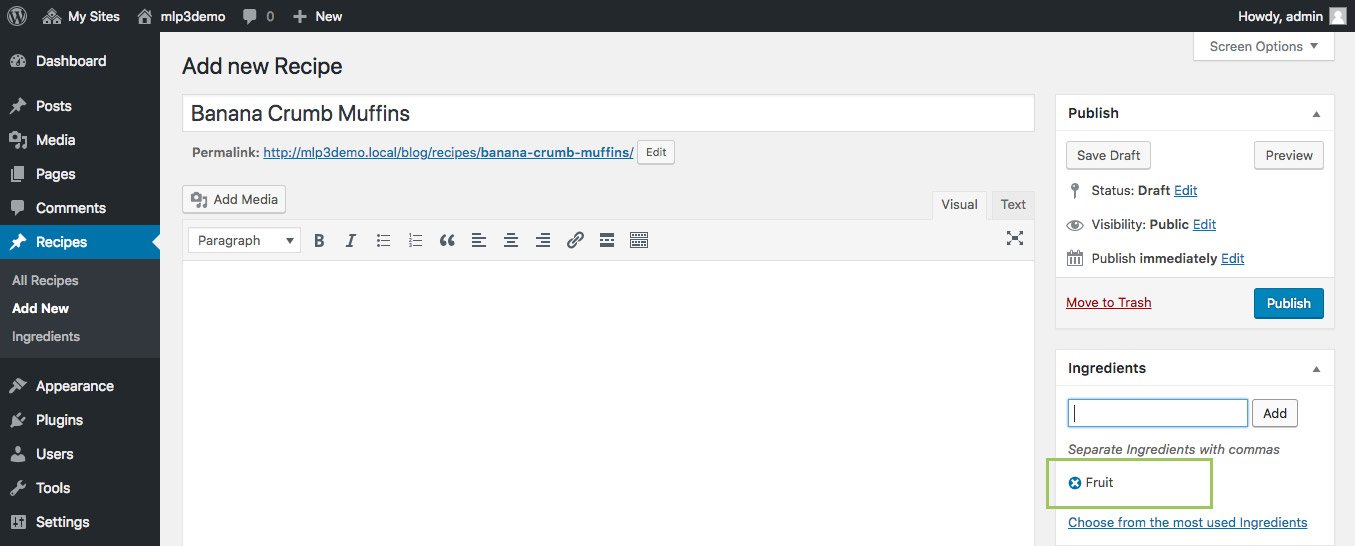
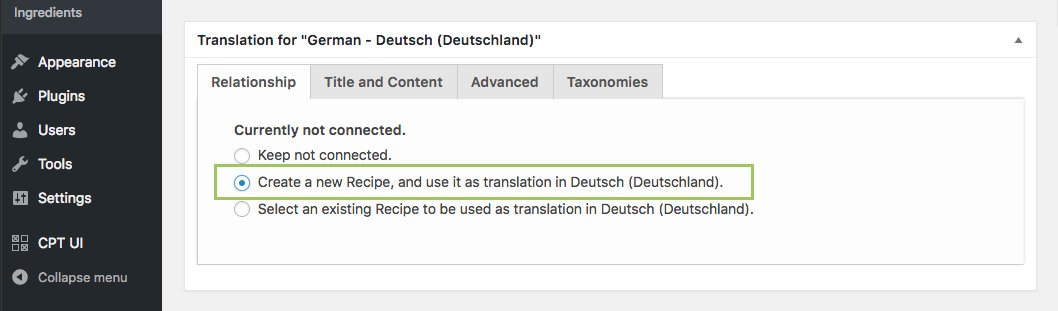
Connecting the custom posts is similar to connecting taxonomy terms. Go to the dasboard of site 1, select Recipes in the menu and edit one. In the translation metabox you can choose Create a new Recipe or Select an existing Recipe. We choose Create a new Recipe. You can setup the values manually and use advanced features like Copy featured image in Advanced tab.
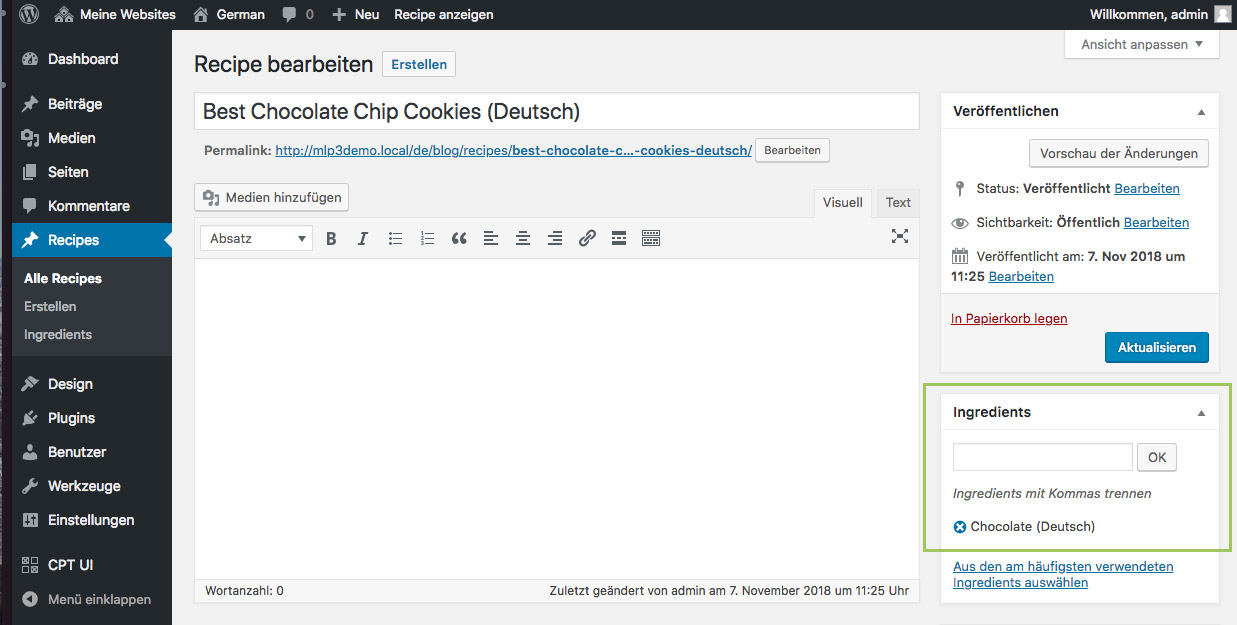
Now if you go to site 2 you will see a new Recipe created. Edit it and select a translated taxonomy in the Ingredients metabox:
Create a menu on each site to navigate through languages
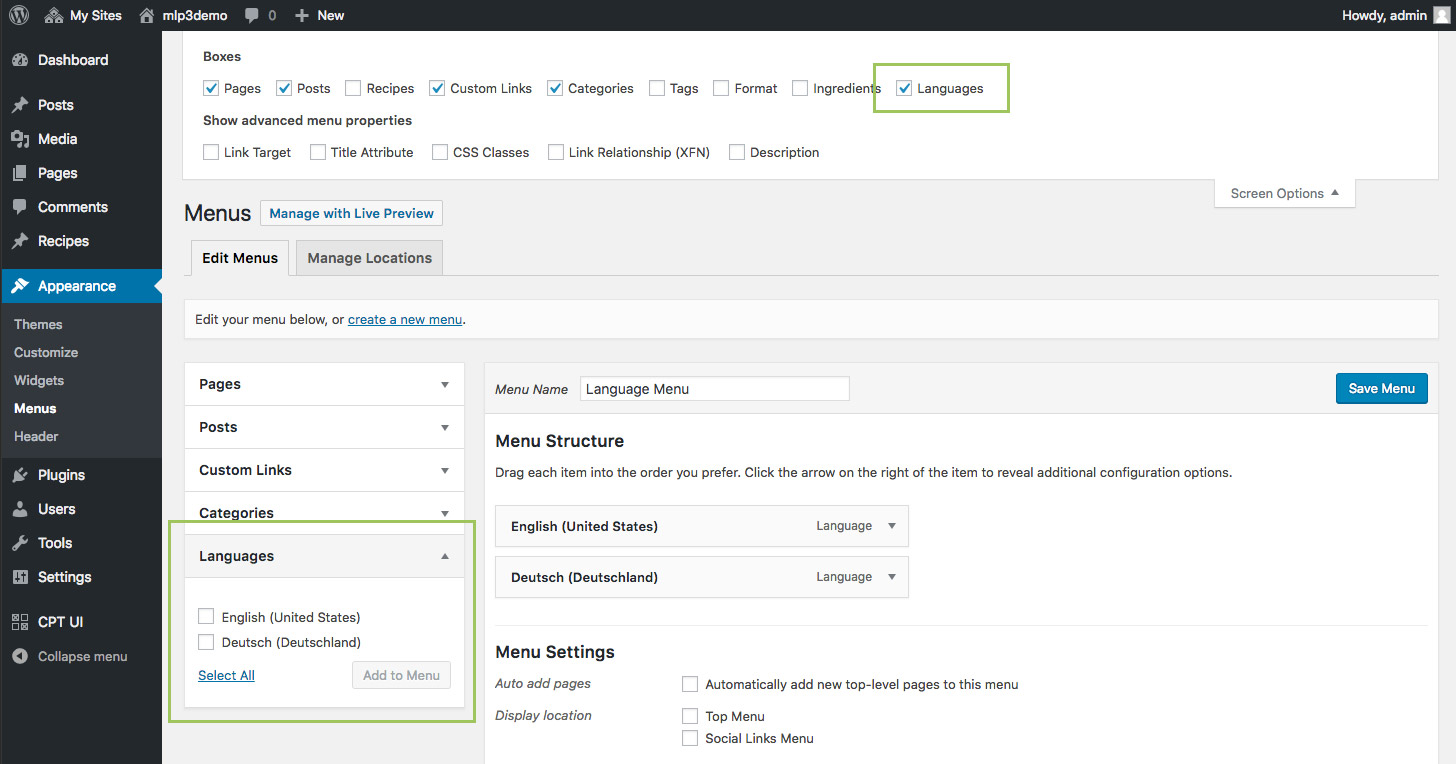
Now that we have some recipes and ingredients connected between both sites we create a menu on each site to allow the user to switch between languages. In the menu we will add MultilingualPress language items.
Setup Permalinks structure
Before we check that switching languages works, we need to ensure that our permalinks structure is configured correctly. Depending on if it is a new Multisite installation it could be that our permalink includes a /blog/ slug added by WordPress. The best approach for now is to simply get rid of this part in the permalink:
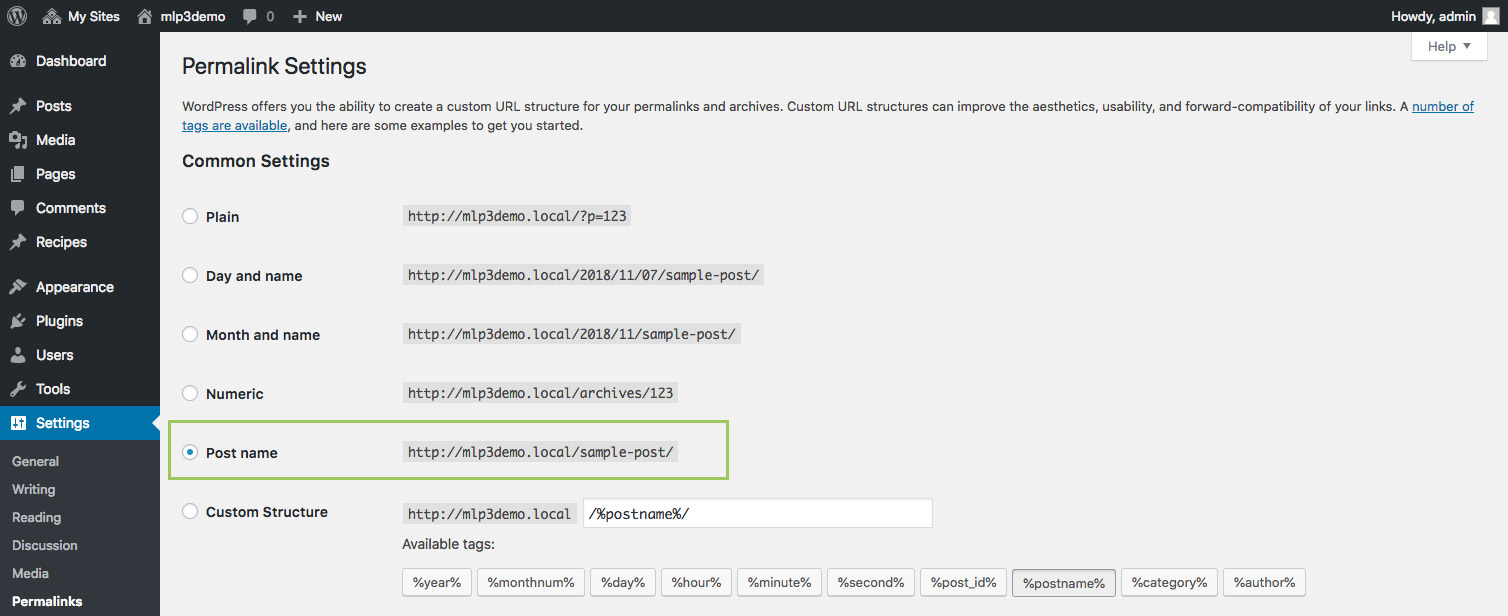
A quick tip for removing the /blog/ slug from the permalink is to select Plain and save. Then select Custom Structure and remove /blog/ slug there. You need to remove the /blog/ slug in both sites. Don’t forget to 301 redirect the old slugs to the new.
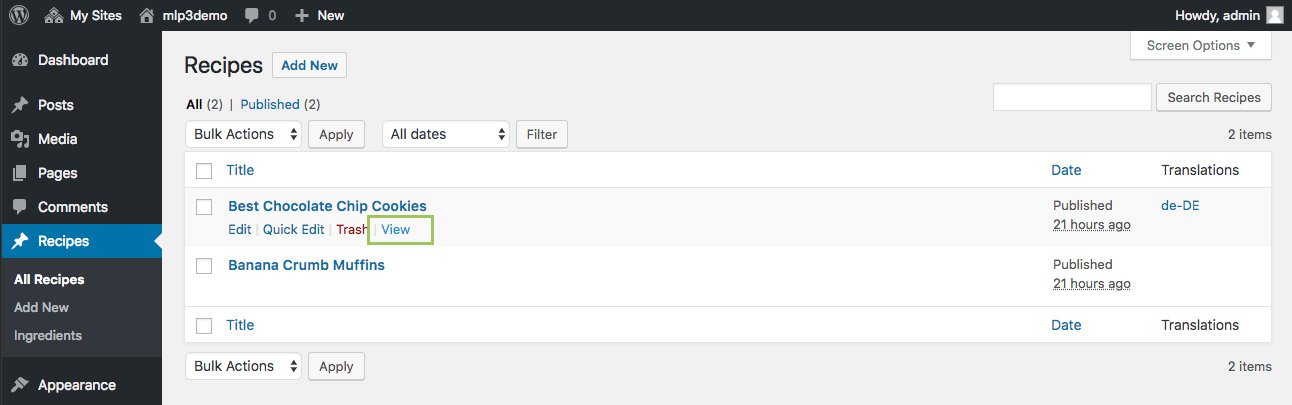
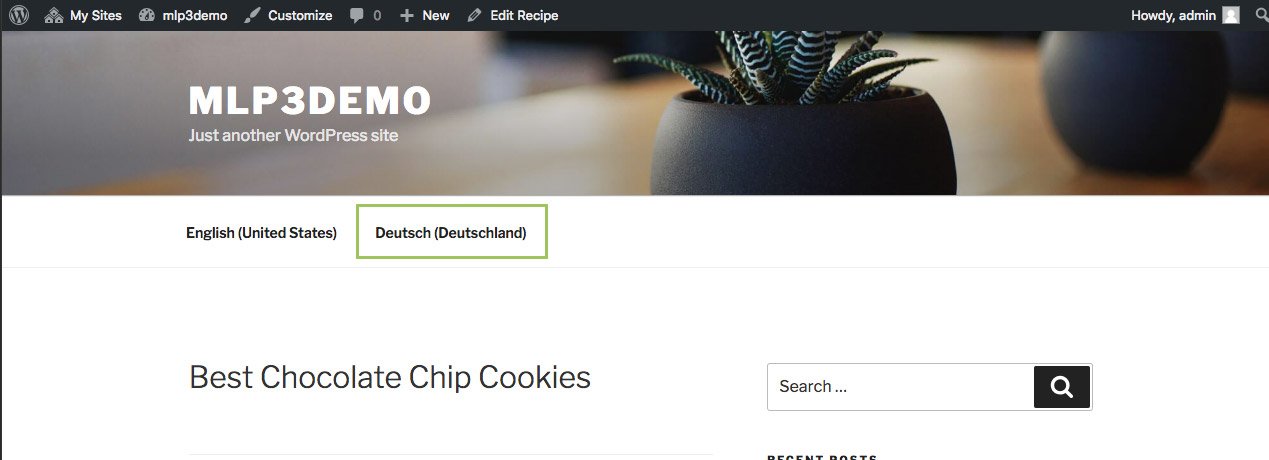
Visit a Custom Post page and switch language
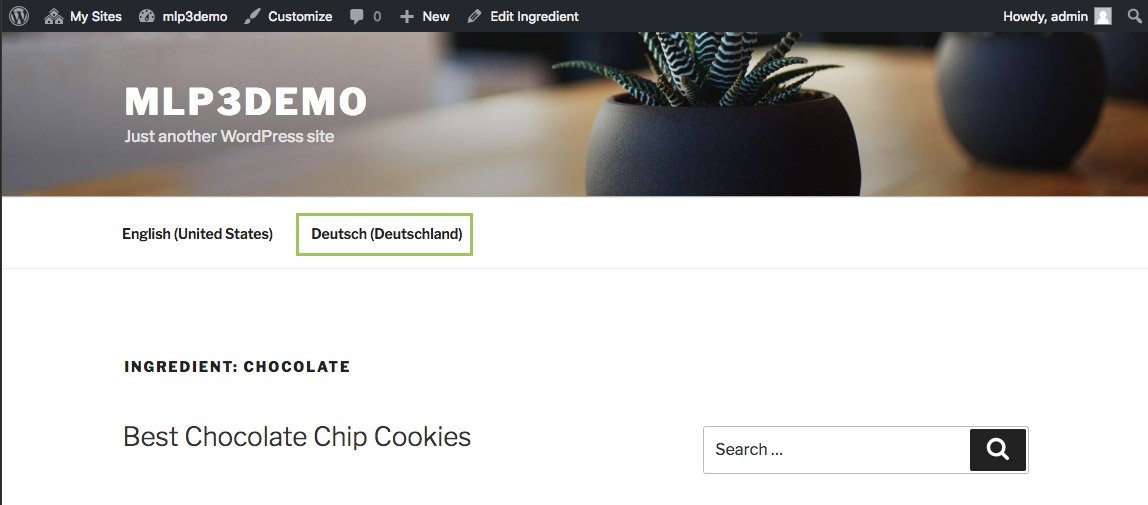
Now that everything is setup correctly, its time to check that we can switch languages from a custom post type page. Go to site 1 and view one of the Recipes you’ve set up. Then switch languages in the menu. You should be redirected to the translated version. Do the same also for the taxonomy terms.
That’s all you need to do regarding setting up custom post type and taxonomy translations in MultilingualPress. If you have doubts or need further assistance, just let us know.