How to Automatically Translate Website Content with MultilingualPress
Translating website content into another language takes a lot of time and effort. However, thanks to Automatic Translation technology, the process is much faster nowadays.
The good news is that MultilingualPress also comes with an Auto Translation add-on that users can use to translate all of their website content in just a few minutes.
This add-on connects with popular translation services like Google and DeepL and creates translations automatically when users pair posts and pages in MultilingualPress.
This article will show how the WP Auto Translate add-on works and how to use it with MultilingualPress to create automatic translations for a website.
What is WP Auto Translate?
The WP Auto Translate is a MultilingualPress exclusive add-on created to help users translate their website content through automatic translation services.
The plugin was developed by Javier Casares and David Pérez using the MultilingualPress core codes, WordPress MultiSite architecture, and the Amazon translation technology.
It’s built with the latest PHP7 version, ensuring its speed and performance. It’s also Gutenberg-ready so users can also translate content created in the block editor as well.
As for the translation service options, WP Auto Translate includes free subscriptions to some popular providers such as Amazon Translate, Google, IBM, and Microsoft.
Other translation providers offered, namely DeepL for 4,99€, Yandex, and Softcatalà.
The WP Auto Translate automatically translates an entire website content, including:
- Post/page/custom post types such as title, URL slug, excerpt, and the content.
- WordPress category/tag/taxonomy includes title, URL slug, and description.
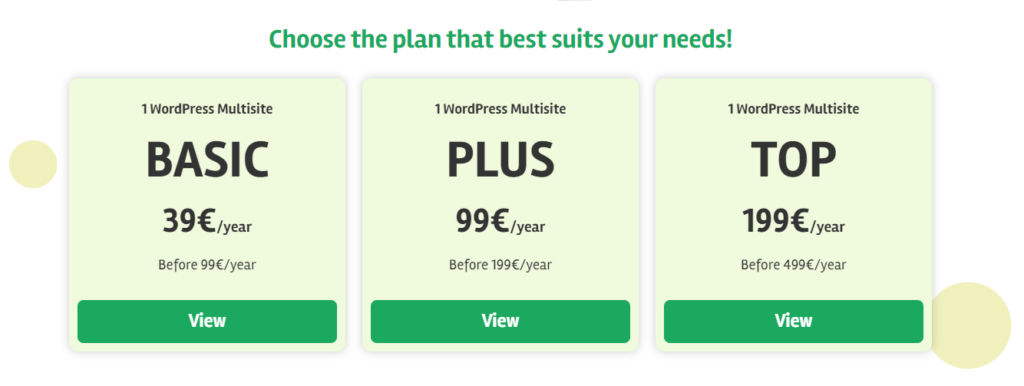
WP Auto Translate currently offers three different plan options for users to select. Starting from the Basic for 39€/year, Plus for 99€/year, and the Top plan for 199€/year.
How to Install & Activate WP Auto Translate
The WP Auto Translate is an add-on specifically made for MultilingualPress — which means you need an active MultilingualPress installation to run it.
Here are some other basic requirements of this plugin:
- Minimum MultilingualPress version: 3.4
- Minimum WordPress version: 5.4
- Minimum PHP version: 7.3
Once all the requirements are met, follow these steps to install and activate the WP Auto Translate plugin on your website:
- Purchase a plan on the WP Auto Translate website to access My account and get the license ID. This key is needed to activate the plugin later on.
- Once all payments and registrations are completed, you will be redirected to the main Dashboard of the WP Auto Translate account.
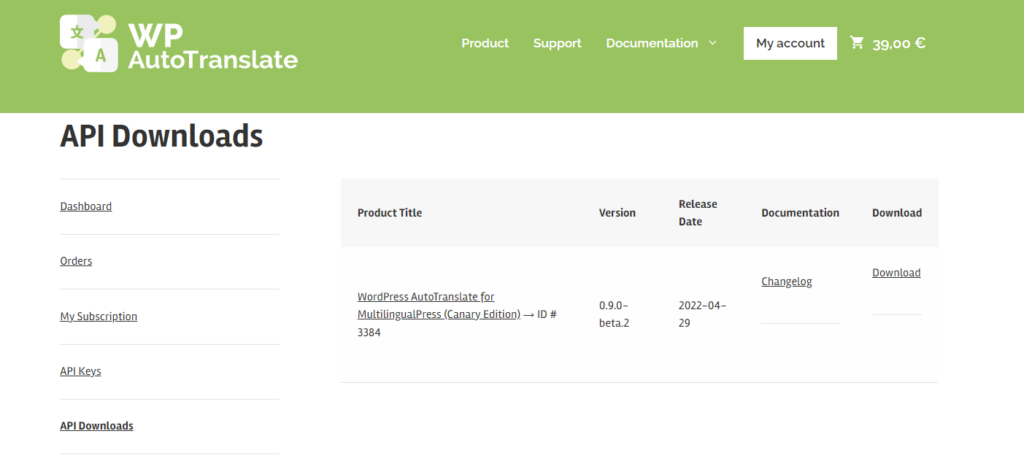
- To download the plugin files, go to the API Downloads > Download. Once clicked, the plugin will be automatically downloaded to your computer in a .zip format.
- Next, log in to your WordPress Multisite dashboard > Network Admin. Head to the Plugins menu and choose Add New.
- On the top left side of the screen, click Upload Plugin and choose the downloaded plugin.zip files on your computer > Install Now.

- Wait until the installation is finished and redirects you to the Installed Plugins page. Then, find the WP Auto Translate plugin > Network Activate.
- A new menu option called AutoTranslate will then show up on the left sidebar of the dashboard. Click on it and go to the License tab to finish the activation.
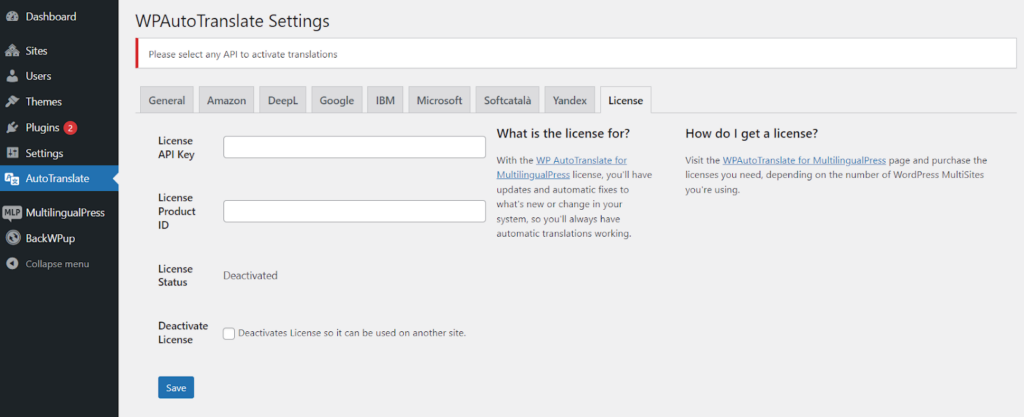
- Go back to the WP Auto Translate website and login to My Account > API Keys to get the License API Key and Product ID.
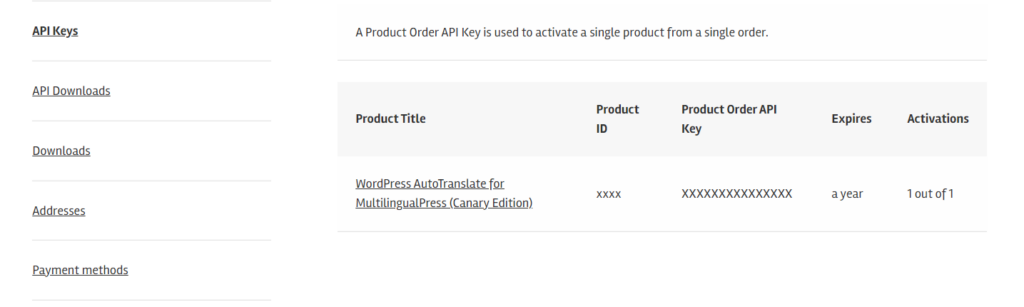
- Fill in the required fields in the License tab with the API data obtained from the website and press the Save button to finish the activation process.
- That’s it. The plugin is now active and ready to be configured with the translation service of your choice!
Choosing & Activating Translation Services
Currently, WP Auto Translate provides seven different translation services. However, they are not configured by default and need to be connected to the plugin manually.
Thankfully, the plugin offers complete documentation on how to configure and connect each translation provider with a step-by-step guide.
Keep in mind that you can only choose a single API when translating, so the translation support will be limited by the possibilities of the provider and its API.
On the other hand, you can activate multiple translation providers and change the main service at any time from the General setting of the plugin.
Here’s the list of all the translation providers available and their configuration guides:
Once the configuration completes, choose the main translation provider for the website > Save. That’s it! Now you should be able to translate any content automatically.
Automatically Translate Content and Posts
To automatically translate website content and posts with MultilingualPress and WP Auto Translate, refer to the plugin’s official documentation.
Automatically Translate WordPress Taxonomies
WordPress taxonomies are a way to group posts and content based on a certain relationship. As of right now, the most common taxonomies on WordPress are categories and tags.
To translate these taxonomies with WP Auto Translate and MultlingualPress, read the plugin’s official documentation on how to translate a taxonomy, tag, or category.